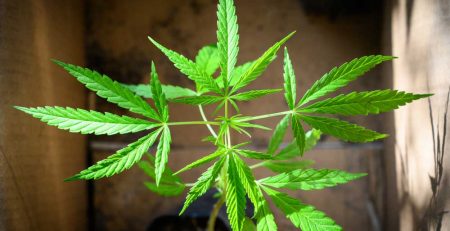
If you want to grow the best marijuana, you need to learn how to dry and cure it. These vital steps enable you to preserve your cannabis after you’ve grown it. After all, is there anything worse than damaging your marijuana after spending months harvesting it?
Although the process isn’t challenging, there are some things you need to know. In this article, we’ll help you understand drying and curing and why it’s essential for you.
What Is Drying and Curing Marijuana?
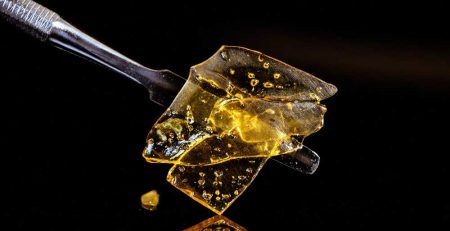
Most people use cannabis in its dried form. If you’re looking to store your cannabis in a dried form for a long time, you need to prepare the cannabis for drying and curing. Here’s the great news: if you properly dry and cure your cannabis, you can store it for years.
Although it may become less potent over time, it will retain medicinal purposes—such as anxiety relief, incredible highs, and help with inflammation. On the other hand, your cannabis will become moldy and unusable within weeks if you leave too much moisture in it.
The Equipment You’ll Need
Although drying and curing marijuana is relatively hassle-free, you’ll still require some equipment, such as:
- Protective gloves
- Manicure scissors
- Glass mason jars with lids
- Cardboard box
- A humidifier/dehumidifier
How To Dry and Cure Your Cannabis
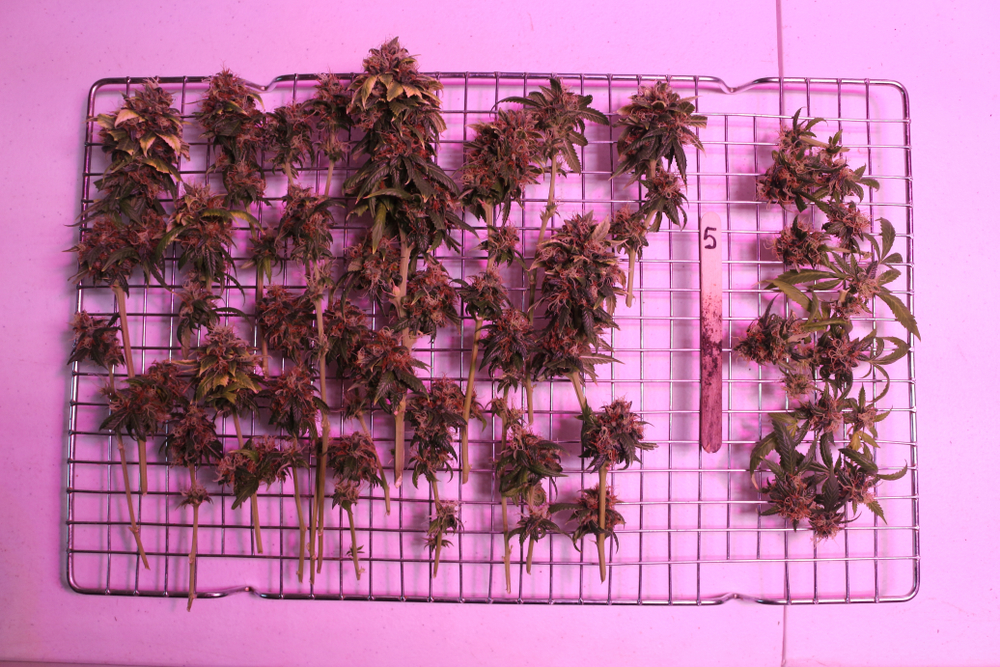
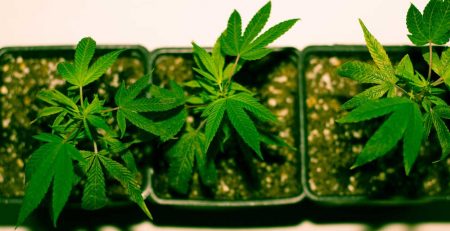
1. Prepare Your Cannabis for Drying
The method you’ve used to harvest your buds will determine your drying process. For example, you can hang your buds from a lattice if you’ve cut long stems. However, you’ll need to dry them in a hanging mesh bag if you’ve cut the buds off. Always decide on the drying method before harvesting; it will make your life easier.
Whenever you’re preparing marijuana, you should wear protective gloves to prevent sticky resin from getting on your hands. Also, use fine scissors or a manicure to trim any remaining leafy bits sticking out of the buds.
2. Create a Drying Room
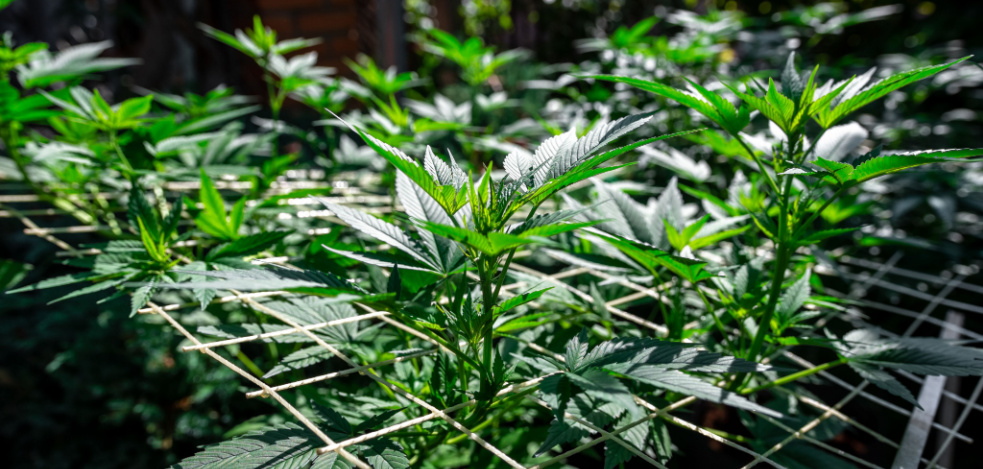
You need space to dry your crop. Professional cultivators typically have special rooms to dry their cannabis. Sure, you might not have enough space to dedicate a room to drying cannabis, but you should still focus on creating ample space somewhere in your home.
There are two things required to dry and cure your cannabis: a room undisturbed by kids and a dry and ventilated space.
The room should be warm; you don’t want to bake your marijuana. If it’s a very hot room, your cannabis won’t dry properly. Therefore, you should aim for between 68–73°F/20–23°C. If you live in a humid location—such as Florida—invest in an excellent dehumidifier. Your cannabis will dry too quickly if your room’s humidity goes below 45%, but you may encourage mold to grow if the humidity is above 55%.
3. Check Your Buds Regularly
Once you’ve created the perfect drying conditions, you may want to leave your cannabis to dry like your clothes on a washing line. Here’s the issue: you need to check your buds to ensure they’re drying correctly. Rotate them if necessary to ensure uniform drying. You don’t want to dry certain parts of the plant faster than others.
4. Decide When Your Cannabis is Dry
As your cannabis dries, you’ll notice the buds lose color and become more brittle. When the buds feel dry on the outside yet still have moisture on the inside, the final stage of drying is finished. If you bend the bud stem and they don’t break, your cannabis is still too wet. If the bud stem breaks, the cannabis is ready for curing.
To start the curing process, create a climate-controlled environment with a steady temperature; this allows the buds to lose water at a slow pace. Set the temperature to 65-70° Fahrenheit and the humidity 50 to 55%. The curing process may take around 10 to 30 days if you maintain the perfect conditions.
5. Choose Whether To Undergo Final Curing
Once your buds are fully dry, you can decide whether to do final curing. Many growers who spend heaps of time drying and curing cannabis will avoid final curing. However, there’s nothing wrong with trying it once to see whether you like it.
First, break your buds into smaller pieces and place them into mason jars. Don’t pack these mason jars too full; you should aim for ¾ full. Once you’ve filled the jar, pack your buds into a cardboard box and close the cardboard box lightly. Over the first 2 to 3 days, ensure you check the jars regularly. You should open the jar around three times daily to release moisture and get fresh oxygen.
Three Cheap DIY Options for Drying Your Cannabis
- Climate-controlled drying box – You can use a climate-controlled drying box, such as a grow tent or a large appliance box, to dry your cannabis. However, you should add a hygrometer with a small dehumidifier to regulate the heat.
- Drying in a bag – A brown paper bag is a possible option for dying your cannabis. To keep the humidity low, place two or three layers of buds in the bag. Use a hygrometer to measure the moisture in the bag.
- Rack drying – If you have some racks at home for your clothes, you could also use these for drying your cannabis. The primary advantage is the air flows freely around the buds.
How Long Does It Take for Cannabis To Dry?
The time required for your cannabis to dry depends on the size of the buds and the strain. It takes an average of 14 days before cannabis plants fully dry. That’s why you must check your plants three times per day.
When the drying process is almost complete, you should check your buds regularly because this is when potential damage may happen.
Final Thoughts
Drying and curing your marijuana is easy. However, it can go wrong if you become complacent. Prepare for drying before you harvest, and regularly check your buds. If your drying room has excellent conditions, your cannabis will dry and cure perfectly.
Drying and curing are essential parts of the cultivation process, and you can master them by following these tips.


Leave a Reply